Disqus for Where Are My Knees

Showing posts with label Recipe. Show all posts

Tomato & Basil Risotto

Thursday, 4 June 2015


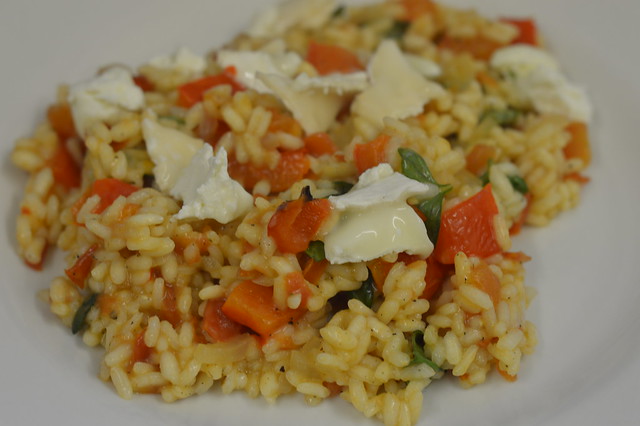
Today’s recipe – Tomato & Basil Risotto is very simple to make and is a perfect midweek dinner to serve on its own or as a side to some grilled chicken. It's also the type of dish where you could use up any left overs you have like roasted veg from your Sunday roast or cheese that needs to be used up. If you don't have any of the ingredients listed you can experiment a bit.


Remember, risotto should have an overall creamy consistency; it shouldn't be too dry and the rice should be al dente, chewy but definitely not mushy so don't overcook it like I do by mistake sometimes. 


Ingredients:
20g salted butter
10ml olive oil
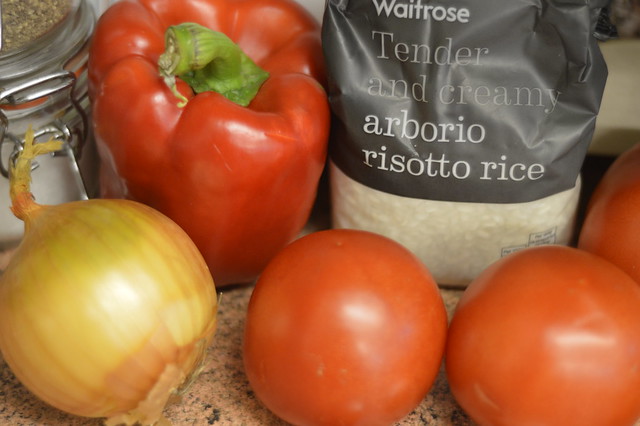
3 tomatoes – cored, seeded and diced
½ onion – diced
1garlic clove – crushed
220g Arborio rice
400ml vegetable stock
20ml double cream
30g fresh basil – chopped
70g goats cheese – sliced
Pinch of ground black pepper
Pinch of salt

Roasted vegetables (optional):
100g butternut squash – diced and roasted
½ red pepper – diced and roasted

Serves 4


Method:
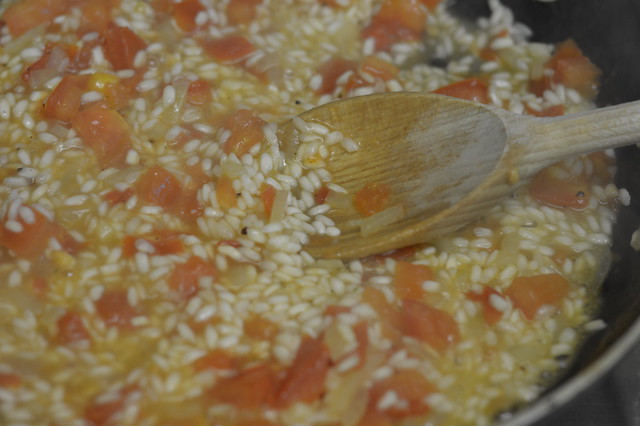
1. Heat the oil over a moderate heat and add the onion as well as garlic to the pan. Sauté until the onion softens. Then add the tomatoes and seasoning. Sauté for a further 3-4 minutes.
2. Add the rice, mix thoroughly and sauté for 3-4 minutes. You can add the optional roasted vegetables at this stage.
3. Gradually add the vegetable stock, stirring until all the liquid is absorbed.
4. Continue stirring until the rice is tender and creamy but still firm, then add the butter and cream.
5. To serve, top with basil and cheese.


Nutritional information: Calories - 283kcals Salt - 1.1g Fat -12.2g Saturated Fat - 7.1g Sugars 2.4g

The idea that making risotto requires hours of stirring over a hot stove is a total myth so I hope you give it a try this weekend. Have you got any risotto suggestions for me? I would like to try one using some nice seasonal asparagus next time or maybe a mushroom risotto.

Ingredients were provided by Care Home Provider, Sunrise Senior Living. 

Fish is the Dish challenge

Saturday, 31 January 2015

When it comes to staying healthy, there’s one food we should all be eating more of – and that’s fish.
Health experts recommend everyone should enjoy at least two servings of fish a week, one of which should be an oil-rich variety such as sardines, mackerel, herring, fresh tuna, trout or salmon.
One of the reasons we should include oily fish as part of a balanced, nutritious diet is because they contain omega-3 fats – and these have been shown to have many health benefits. There are so many benefits of eating fish, if you want to find out more head over to this page

Seafish, the national authority on seafood launched a campaign with Fish is the Dish to encourage the people of Britain to eat more fish by promoting its health benefits and the wide variety of tasty and convenient ways that it can be enjoyed. As part of this they launched a challenge for bloggers and asked them to take part in ‘Ready, Steady, Cook Fish!’ 

I was sent a package of assorted ingredients which will include fish, vegetables, herbs etc. The challenge was to create a fish dish of your choice in just 30 minutes. I had to stare at all of those food for a good ten minutes because I have to admit I rarely cook fish and wasn't sure what to do with it.


This is what I came up with in just under 30 minutes. 
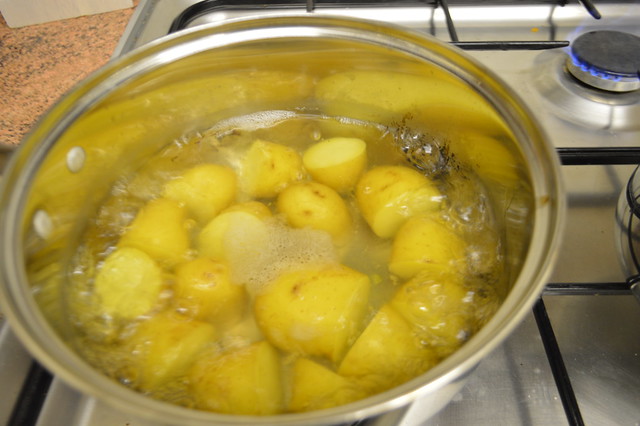
  • Put the potatoes in a pan, cover with lightly salted water, bring to the boil and cook until tender. Drain, toss with a drizzle of oil, set aside and keep warm.

  • Meanwhile, cook the asparagus and artichokes in a large pan of boiling salted water for 3-5 mins until tender. Drain and set aside to keep warm.
  • Chop the tomatoes, spring onions and basil and add a little oil and lemon juice and season. 

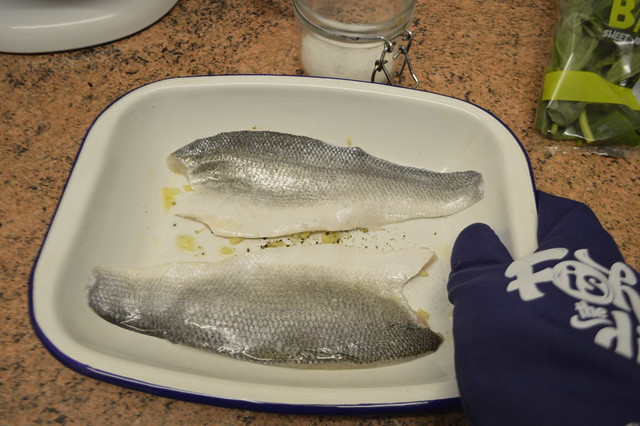
  • For the sea bass, heat the grill, pour 2 tbsp of oil into a pan set over a medium heat, add the garlic, and cook for 1-2 mins. Sprinkle a little salt and pepper into the pan, add the fish, skin-side up, cook for 2-3 mins, then remove from the heat. Drizzle with the remaining oil, then cook under the grill for about 4 mins until the skin blisters and the fish is cooked through. Keep the fish warm while you finish the veg.

  • Thickly slice the potatoes and arrange a layer in the middle of each of 4 dinner plates. Scatter the asparagus over the potatoes and artichokes, squeeze over some lemon juice and finish with a grind of black pepper. Top each plate with a fillet of sea bass, finishing with a few spoons of salsa.

My meal was incredibly tasty, quick to make and nutritional. I've already bought some more sea bass and some cod. I plan on using the leftovers up and cooking the cod in a parcel with tomatoes and veg with some garlic, parsley and basil. 

Do you eat enough fish? 

A Salad for All Seasons with Florette - Roasted Squash with Thyme and Taleggio

Wednesday, 31 December 2014

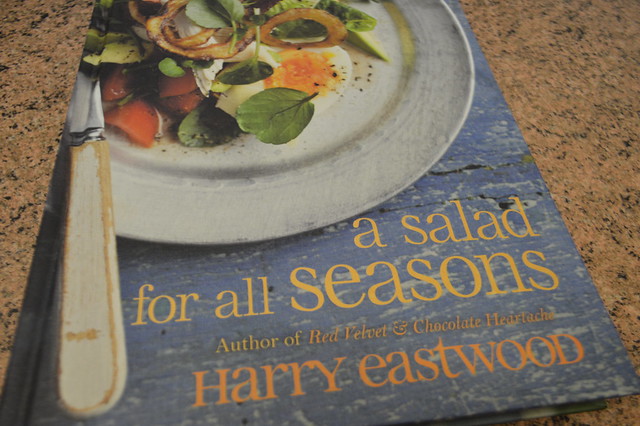
I don't know about you but I'm bored of beige food. Winter makes me want to make stews, hearty pies and stodgy food. I'm craving something light, colourful and tasty and without the calories that come with pastry and rich sauces. I tend to think of salads as exclusively summer food but let’s eat more salad! It’s fresh, colourful and healthy fast food. In A Salad for All Seasons, Harry Eastwood shakes things up, introducing us to over 100 delicious, original and easy-to-make salads to see you through the year. 

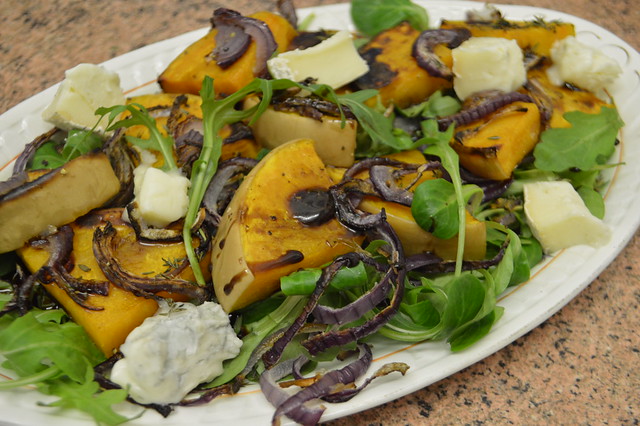
The Autumn and Winter sections of her book offer warm, hearty, nourishing combinations, such as Roasted Squash with Thyme and Taleggio and Spinach, Lamb and Fig with Orange and Honey Dressing. Roasted Squash with Thyme and Taleggio.  

I love books that encourage me to eat seasonally. The variety of dishes included in this book has inspired me to try and make salad more of an everyday item, and not just an accompaniment. Florette love their salads. Just like we love all fresh, tasty, great-quality food. And what they love most of all is when people tell them how they’ve their salads to create delicious meals of their own, in no time at all. I hope they are happy with what this salad newbie created with one of their fresh bags of mixed leaves. 


335 calories per portion 
3 of your 5 a day
Serves 4


600g mixed squashes, seeds removed (use any squash you like)
2 tbsp olive oil
salt and pepper to taste
2 red onions, cut into thin moons
2 tbsp thyme leaves, stripped from stalks
200g Taleggio cheese, cubed
a few handfuls or rocket leaves

For the dressing

3 tbsp balsamic vinegar
1 tbsp maple syrup
salt

Preheat the oven to 200°C/ gas mark 6


Cut the squashes into half moons of around 2cm thickness. Toss them in the oil and roast in the top of the oven for 5 minutes. Make sure the squash is spread out so it can roast evenly. 


Turn the oven settings to grill. Remove the tray from the oven and add the onion slices, sprinkle with thyme and place back in the oven. Grill for a further 10 minutes until the squash is blistered and golden. 


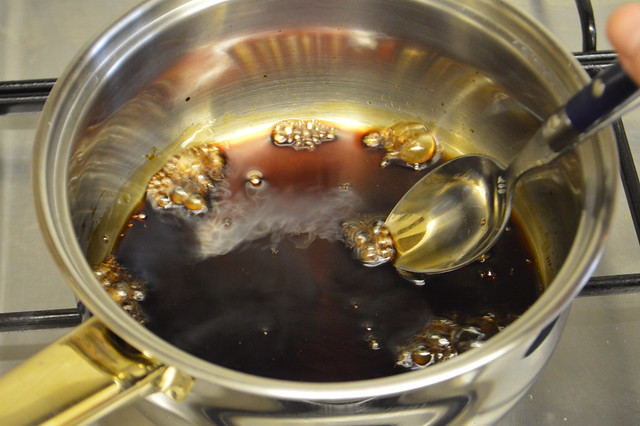
Meanwhile make the dressing. Mix the balsamic vinegar and maple syrup in a pan with a pinch of salt and bring to the boil. The syrup will thicken and become glossy. 


When the squash and onions have cooked remove them from the oven and pile onto a serving platter. Season with salt and pepper. Dot the cheese cubes all over and give it  good toss with the rocket. Drizzle the warm glaze on the top. Serve warm. 


You can use Fontina instead of Taleggio and sage instead of thyme. I found it hard to get these cheeses (the shops were full of festive wensledayle and Cranberry) to I used a good Gorgonzola. I also added a squeeze of lemon juice to my salad. You will love this salad, it warming, the dressing is sweet and the cheesy is gooey mmmm.


If you want to create some healthy and tasty salads yourself make sure you check out the Florette website for plenty of salad recipes and tips about flavour combinations and how to use leftovers.

Paprika Chicken & Bacon Warmer

Friday, 24 October 2014


I was challenged recently by Knorr to incorporate their fabulous Knorr Stock Pots into a recipe - the challenge was that it had to be gluten-free, much like their Stock Pots. They sent me a big box of lovely fresh ingredients, and left it up to me to decide what I wanted to make.

I decided to adapt this recipe to be gluten free and Weight Watchers friendly, and it worked a treat. This is a super tasty, super hearty, super warming Autumn dish... and it's low fat. Winner!

Paprika Chicken & Bacon Warmer
(adapted from here)

Serves: 4-6


400g chicken breasts (I used a pack of Sainsbury's mini fillets) - 10PP

200g bacon medallions - 6PP
800g baby potatoes, sliced - 15PP
1 tbsp cornflour - 2PP
Knorr chicken stock pot - 1PP
250ml white wine - 6PP
2 tbsp sweet chilli sauce - 2PP
Salt & Pepper
Smoked Paprika
2 cloves of garlic, crushed
1 onion, chopped
6 mushrooms, chopped
1 pepper, chopped
2 carrots, chopped
300ml boiling water, for stock
2-3 stalks of fresh thyme
Frylight

42PP / 11PP - 4 servings, 7PP - 6 servings


1. Boil a pan of water and par-boil your potatoes for 10 minutes. Drain and set aside.
1. Chop up your chicken and bacon (I always use scissors)
2. In a plastic sandwich bag, add 2 teaspons of smoked paprika, 1 teaspoon of salt and 1 of pepper. Mix together (I just shook the bag) and throw the chicken into the bag
3. Massage the bag from the outside until the chicken is well coated. To be honest, I think you could also just throw the chicken, paprika, salt and pepper into a bowl and stir it together too.
4. In a nonstick frying pan or wok, add the chicken and bacon, and cook until cooked through. You will probably need to add some Frylight and maybe a few splashes of water, to stop it sticking.
5. Remove the meat from the pan and leave in a bowl for a bit, then add the garlic and the onion into the pan. Stir for about 2 minutes, then add the mushrooms and cook for another 2 minutes. Again, you may need to add another splash of water to stop it sticking.
6. Add the carrots and peppers, sprinkle with salt and pepper and cook for about 5 minutes, stirring regularly.
7. Combine the cornflour with a splash of water to make a paste, then slowly stir into 175ml of the wine (I used a jug for this).


8. Add the Knorr Stock Pot to a jug of 300ml of boiling water, and stir until it's dissolved.
9. Add the flour and wine mixture to the pan, and then immediately add the stock. If you wait, it'll stick and your vegetables will burn. I speak from experience...
10. Pop the potatoes and the meat back into the pan with all the vegetables, stir to combine and increase the heat to medium-high until it starts to bubble. Add another sprinkling of paprika, your sweet chilli, a further 175ml of wine and some more salt and pepper.
11. Leave to simmer and cook down for about half an hour. If you can, cover the pan, but we didn't have a lid and it was fine - I just checked it regularly and gave it a stir to make sure it wasn't sticking.
12. Just before stirring, strip the stalks of thyme into the mixture and stir them in. Have a taste, add any extra seasoning you wish and then plate that bad boy up.


This is my last post here on Where Are My Knees sadly, but you can catch me at my personal blog, Essbeevee, which is full of lots of yummy recipes and chatter.

Bacon, feta & rocket frittata recipe

Thursday, 7 August 2014


I’m back!

I’ve been very quiet here for the past few months, and the reason is that I completely fell off the wagon. I am cross with myself – it took the best part of last year to lost 2.5 stone, and only 6 months to gain most of it back. If only it worked the other way around! I’m not going to beat myself up though – I gained weight because I was in a new relationship and happier than I’ve been in a long time. And I am back on it now, I've switched to doing Weight Watchers online and my first weigh in is tomorrow! Eeep!

I’m going to start posting lots of recipes again, as last year, that’s what really helped me lose the weight. I discovered a love of cooking that I didn’t know I had, and rather than feeling sad about no more takeaways and convenience food, I’m excited to start cooking from scratch again and experimenting with tasty recipes.

With that all said, I might as well come back with a tasty recipe! And before you ask, YES. It does involve cheese. So, I’m definitely guilty of having the same thing for lunch day in, day out – when I find something that works, I stick with it. Throughout school, I was perfectly happy with my peanut butter sandwich and ready salted crisps every day, and now I’m all about my daily soup.

Pink Lining challenged me to come up with a recipe to liven up a kids’ lunchbox – now even though I don’t have any of my own, I spend a lot of time with my sister’s kids so I felt pretty equipped to come up with something. After a lot of thinking, I went for a frittata. Frittatas are super easy to make - unlike omelettes, they require very little skill (my omelettes always fall apart!). They’re a super easy dinner as they’re basically eggs and whatever else you have – but they’re also really good hot or cold. And they’re light, too! This whole recipe is only 19 points, and for lunch a quarter or half would be plenty.

I didn’t get a chance to try this out on any children but I put together this as my own lunchbox and very tasty it was too! (Plus, this Pink Lining lunchbox is way too adorable to give to a kid, right?) Along with my frittata portion, I bought a little box of green salad, some cherry tomatoes, a bottle of water and a couple of pieces of fruit. Super tasty!

Bacon, Feta & Rocket Frittata
Half a small red onion - 0PP
2 mushrooms
A couple of handfuls of fresh rocket - 0PP
4 large eggs - 8pp
100g crumbled feta cheese - 7pp
50g bacon lardons - 4pp
19PP / 10PP a half


1. Turn on your grill and let it heat up while you prepare everything else.
2. In an oven-proof frying pan,* thinly chop your mushrooms and onion, then dry fry (add a little water if it starts to stick)
3. Throw in your bacon and let everything cook away while you prepare everything else
4. In a jug or bowl, break your eggs and whisk up with a little salt and pepper until combined
5. Chop up your feta and add that to the bowl, then add your rocket.
6. Stir it all together, and then add to the frying pan.
7. Remove your frying pan from the heat and pop it under the grill for 5-10 minutes until it's cooked through - the egg should be solid, not liquid, all the way through.
8. Chop into quarters and serve, or leave to cool and have it for lunch tomorrow!

*If you don't have an oven-proof frying pan, you'll need to decant this into a baking tin, but it may not work as well.


Post in collaboration with Pink Lining.

Weight Watchers friendly crayfish, mango & avocado salad recipe

Saturday, 19 July 2014


Serves 2 - 7 Pro Points per serving


Ingredients

  • 1 tablespoons orange juice
  • 1 tablespoon fresh lime juice
  • 2 teaspoons of honey
  • red chilli
  • 2 teaspoons of olive oil
  • 1/4 red onion or some spring onions
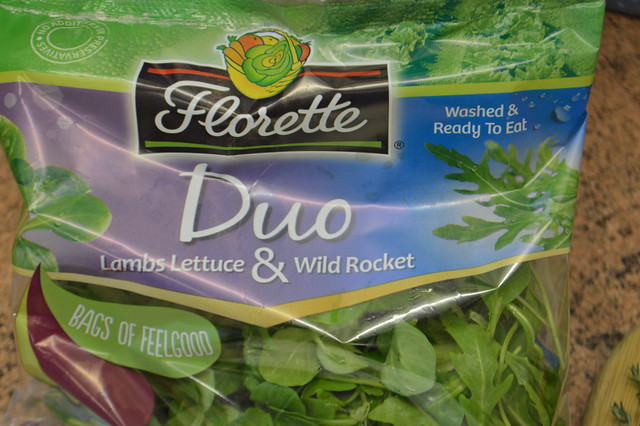
  • 125g crayfish (I bought mine pre-prepared in Lidl)
  • 1 large mango, peeled, pitted, sliced
  • 1 large avocado, halved, pitted, peeled, sliced
  • lettuce leaves
Method

Combine first 5 ingredients in a bowl and whisk in oil. Season with salt and pepper then mix in onion and leave to marinate for 15 minutes.
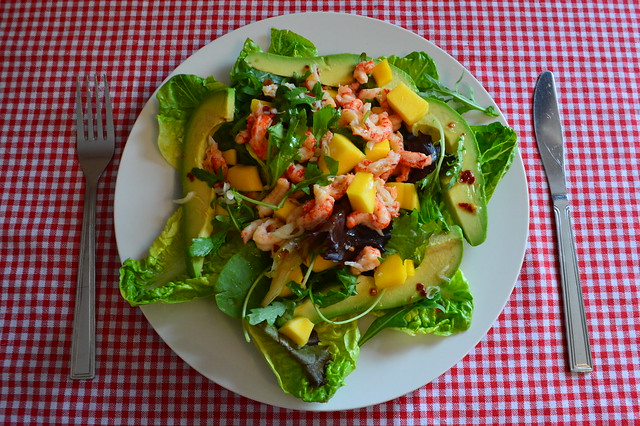
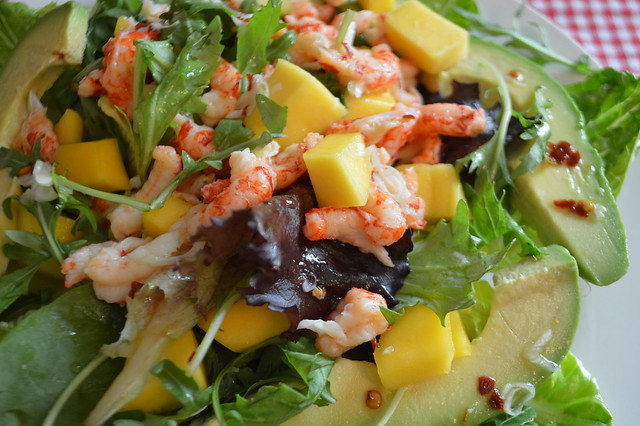
Form a bowl with little gem lettuce on a plate and add any other salad leaves you have. Place avocado, mango and crayfish on top and drizzle over the dressing. 

I think this would look lovely served in glasses for a dinner party and it's so colourful even kids might try some.
If you wanted to turn this into the Marks and Spencer version you could add some wild rice that is coloured with a little paprika instead of avocado and a couple of teaspoons of coconut cream but coconut cream is extremely high in points. The M&S one retails for about £4 but you could make 2-3 portions of this at home for the same price. Save money and pro points by making your own, it's so easy!

Day in the life of Weight Watchers - Salmon and spicy bean salsa recipe

Monday, 7 July 2014

I had my second weigh in since starting back on the Weight Watchers plan yesterday and have now lost a total of 5lbs in two weeks. I was a little disappointed to only lose 2lbs in my first week back but I already ate pretty well before heading back to class and still used skimmed milk and ate a high protein and vegetable based diet so the changes were not as extreme for me as some other people joining for the first time. 5lbs is a pretty decent loss and and I've enjoyed getting back on track and eating plenty of tasty food.

This is what I ate on Sunday, I tend to have a more relaxed approach on the weekends and eat more 'treat' type foods and have a late brunch. I also ate some cherries and a peach which aren't photographed.


Brunch  - Baked beans, mushrooms, bacon medallions and egg. All Filling and healthy, no counting.


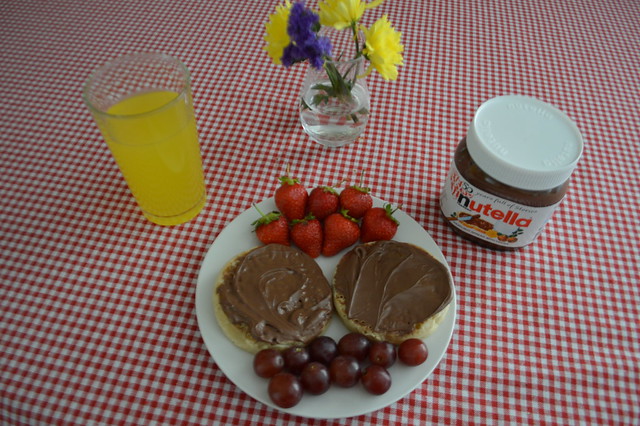
Lunch - crumpets, Nutella (1 of 2 daily treats) fruit, water.


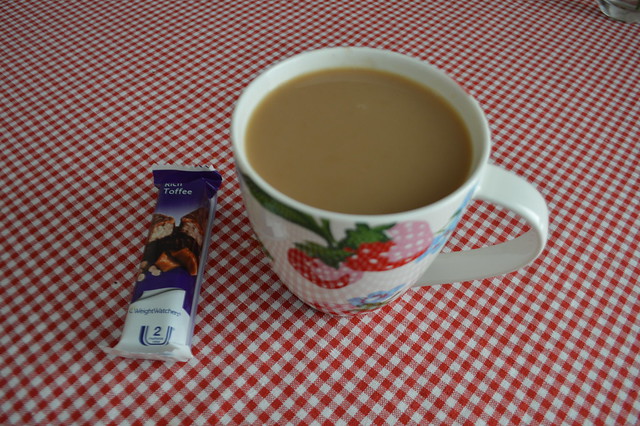
Tea with skimmed milk, WW bar (2 of 2 daily treats)


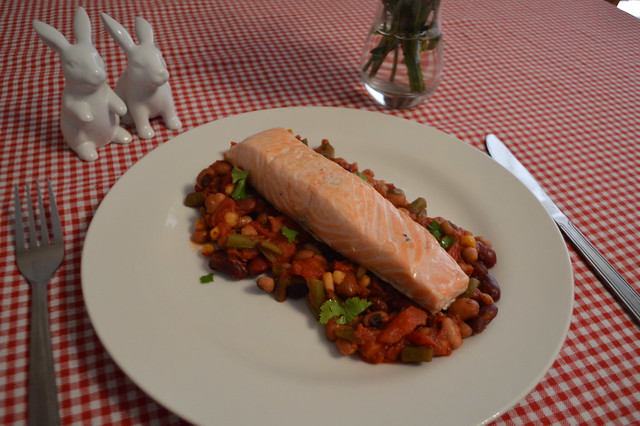
My evening meal was so tasty but simple to cook so I thought I would share the recipe:

Serves 2 - 420 calories - 2 of your 5 a day

Ingredients:

- 200g 2 x Salmon fillets
- 400g Canned mixed beans, drained
- 227g Canned chopped tomatoes
- 20g Fresh coriander, finely chopped
- 1 Red chilli, finely chopped

Method:

  1. In a bowl combine the black beans and tomatoes.
  2. Stir in coriander, chilli and salt.
  3. Pan fry Salmon for 3 or 4 minutes on each side to thoroughly cooked.
  4. Serve salmon with salsa and a green salad.
I started counting points again this week after two weeks on the simple start plan. I'm going to mix it up so some days I will count points and other follow the Filling & Healthy plan. Hoping for another solid loss of around 2lbs this week.

harissa falafel

Monday, 30 June 2014

I've been trying to rustle up tasty treats to keep my diet interesting since starting back at Weight Watchers over a week ago. There's a lot of food on the Healthy and Filling/Simple Start list at Weight Watchers that you can eat without weighing or counting and everything in this falafel recipe is on the Simple Start shopping list making it perfect for those just starting the plan like me or anyone looking for a healthy veggie dinner.

Serves: 2-3
Preparation time: 5 minutes
Cooking time: 6 minutes

Ingredients
1 x 400g can cooked chickpeas, drained and rinsed
2 cloves of garlic, finely minced
Handful of parsley, finely chopped
1 small red onion, finely diced
1 tsp harissa paste
1 tsp ground cumin
1 tsp ground coriander
Salt to season
To serve:
Tomatoes, green salad and pitta bread/wraps


Method
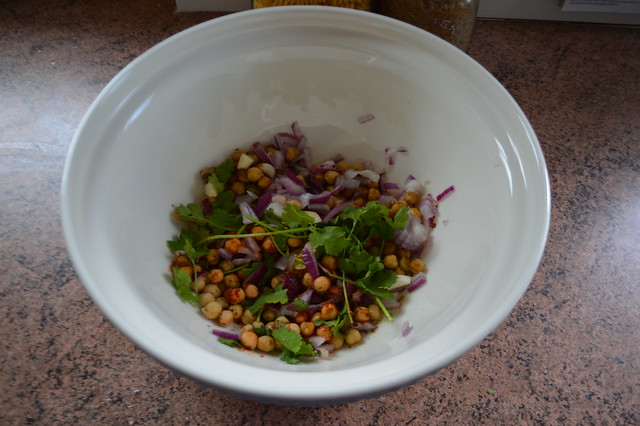
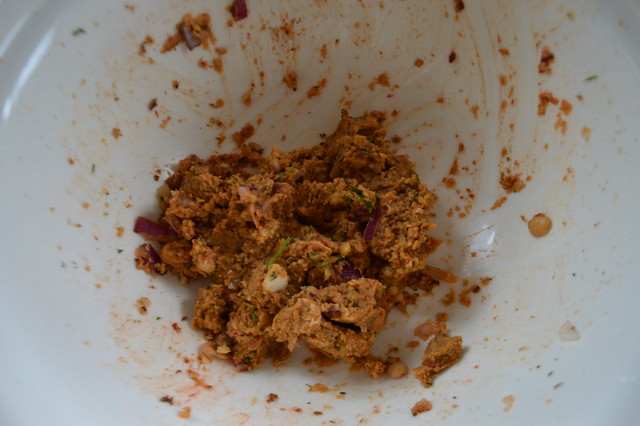
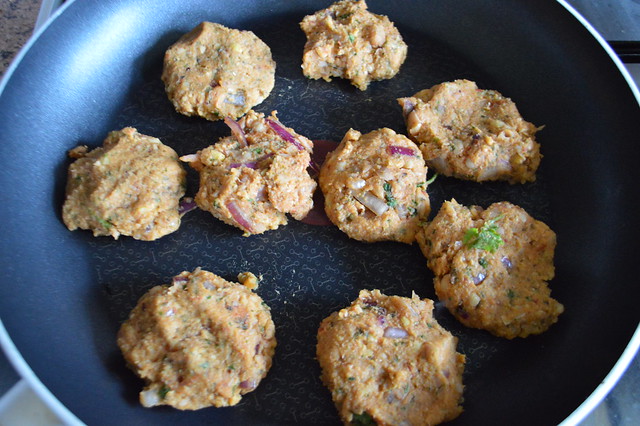
1. Add all the ingredients to a food processor and then blend until you have a paste like consistency.


2. Remove from the processor bowl and shape into six to eight patties and transfer to a plate.


3. Warm a non-stick pan to a medium – high heat. Add the patties and cook for three minutes on each side until golden brown and cooked all the way through.

4. Serve in toasted pitta bread with tomato and green salad.


This was my Friday night meal so I served it with Weight Watchers wraps, paprika wedges and chicken to make it more satisfying. These would be great for a packed lunch too and keep well in a tub. I have to admit that even though the falafel was tasty I was very jealous of my boyfriends burgers but no pain no gain, ey?

Day in the life of Weight Watchers Simple Start

Tuesday, 24 June 2014

As I mentioned in my last post I've gone back to Weight Watchers but things have changed a little since I attended a meeting about a year and a half ago. When you join Weight Watchers now you follow the Simple Start plan for two weeks before they introduce the idea of counting points. So what is Weight Watchers Simple Start?

It’s an introduction to the Weight Watchers plan that helps you get to grips with eating the healthy and satisfying foods without the distraction of counting or weighing anything at the start. You follow Simple Start for up to two weeks and can add a couple of treats per day like almonds, avocado, cheese and chocolate    

You chose foods from the Filling & Healthy food list. This includes things like baked beans, tinned tomatoes, potatoes, eggs and ham alongside calorie-controlled brown bread, wholemeal pasta, lean cuts of meat and plenty of fruit and vegetables. I love the fact that I'm never hungry and I can boost flavour with things like dried herbs, curry powder, lemon juice, soy sauce which means all my food is tatsy and my partner will eat it too so I don't need to cook two meals.
 
I've only been on the plan for a couple of days but I am enjoying it and get to eat very varied foods. My big bowls of tasty fruit are something I look forward to everyday. This is what I eat on a typical day:


Poached egg on wholemeal danish bread and bacon medallions. 
Tea with skimmed milk.
I also has a small bowl of shreddies, this was a Sunday and I woke up late so this was more of a brunch. 


Crumpets with berries and cherries jam (1 of my 2 daily treats)
Fruit salad with 0% fat Greek yogurt.


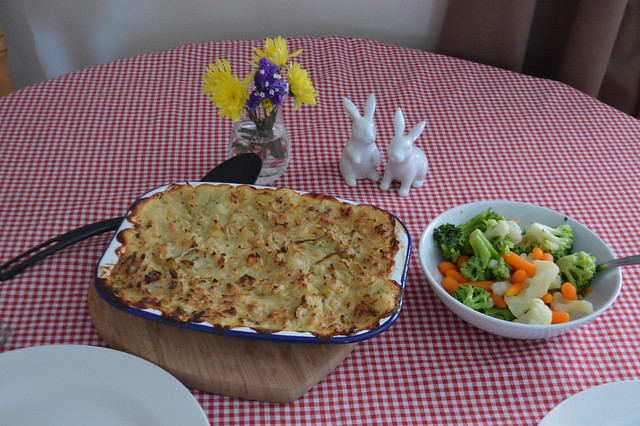
Fish pie with leek and mustard mash & vegetables

If you want to make the fish pie you can add as much or little of the following ingredients as you like, it's so flexible on the Simply Start plan. I was really hungry so I had lots of mash and added loads of mustard for extra flavour.

Ingredients
Frozen fish mix, you can get these in most supermarkets and they have a variety of fish in them.
1 Bay leaf   
Black pepper
Skimmed Milk
Quark + low fat garlic and herb soft cheese (50g=one of my extra treats)
2 tsp parsley, chopped

For the mash
Leek
Potato
Wholegrain mustard   

Instructions

  • Preheat the oven160ºC(fan). Place the fish in a small roasting tin, add the bay leaf, pepper and pour the milk over. Cover tightly with a piece of foil and cook for about 10 minutes. Strain the milk into a jug and bin the bay leaf)
  • Meanwhile, whisk together the  reserved milk with the soft cheese. Add the parsley and season to taste, then pour the sauce over the fish.
  • Cook the leek in a pan of boiling water for 5 minutes or until soft. Drain well. In another pan, cook the potatoes in boiling water until tender. Drain, then mash with the mustard and the remaining strained milk. Stir in the leeks and season to taste.
  • Top the pie with the leek mash, spreading the mixture out with a fork. Cook for 25 minutes, until the sauce is bubbling. 

Pork and Egg Burgers

Thursday, 24 April 2014

This post is brought to you by the very lovely Leanne who blogs over at A Slice of my Life, make sure you pop over to check out all her lovely posts about homeware, make up and all the lovely food she eats on the SW plan.

I occasionally follow Slimming World (I've fallen a little off the wagon and am desperately trying to get back on board), one of the things that I love about the SW plan is the freedom that comes with it, most food is possible provided that you cook it in the right way. Burgers and chips on a diet, no problem!


These pork and egg burgers are my latest pride and joy. They are Syn free on the extra easy plan, super easy to make and very aesthetically pleasing, oh and they taste pretty good too! 


You will need : Extra lean pork mince, one egg per burger, fry light and seasoning. I haven't added an amount for the pork as this really is a simple, flexible recipe - you can make them as big or small as you like, I personally tend to make these when I have a little leftover pork mince.

Add salt and any other required seasoning to your pork mince (I just use salt & pepper, hubby throws in every single spice/herb going!) and roll into doughnut shaped rings. 


Carefully transfer the pork 'doughnuts' into a pan sprayed with Fry Light and crack an egg into the centre of each one. Your egg may or may not leak out of the bottom, this really doesn't matter as the majority will stay in the centre.


The cooking time is dependant on the amount of mince that you use, mine take around 10 minutes on each side but I do tend to overcook meat. 

When the bottom half has browned nicely transfer the pan to the grill to cook the top half of the burgers on a medium heat. You can flip the burgers and continue to cook in the pan if you so wish, however I personally find that this ruins how the egg looks.


Sprinkle on some chives to make them look really awesome! 


If anyone is wondering, this is how they look underneath.

Serve with Slimming World style chips and a salad for a delicious, Syn free meal.